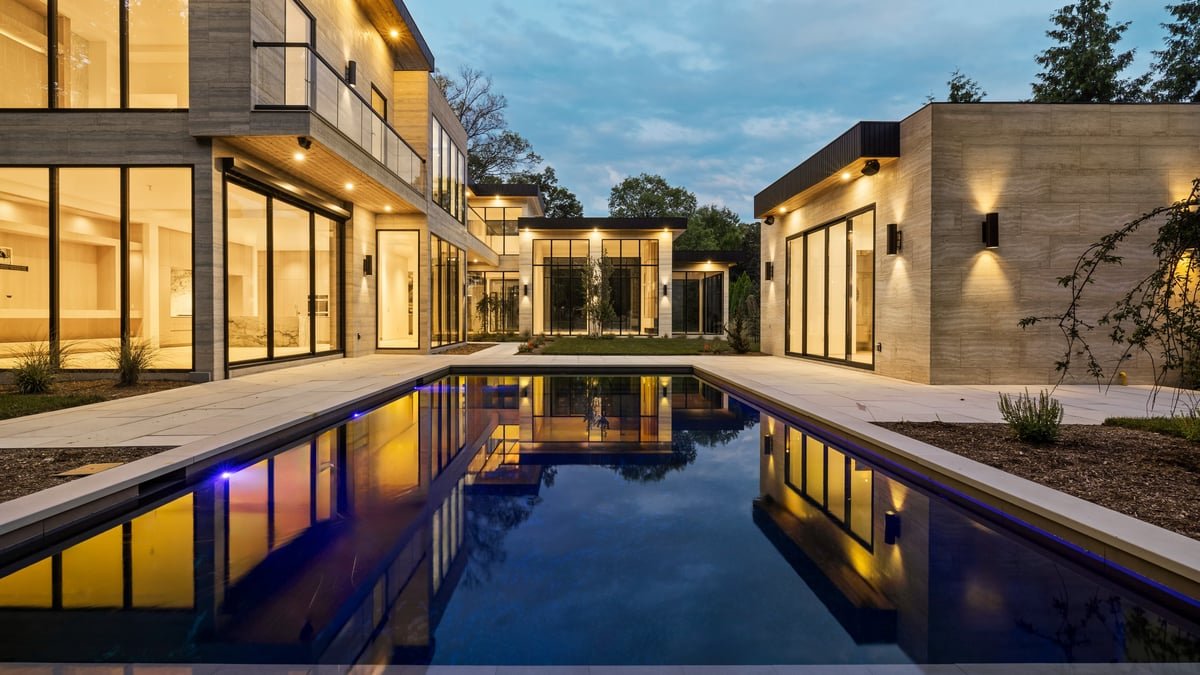
A photoshoot rarely fails because of the space itself. It falters in the details left unattended: a coiled cord in the corner of a frame, a shade drawn at an odd angle, a stack of mail on an otherwise considered console. Architectural photography is an act of translation, and the cleaner the source material, the more faithful the result. The hours spent preparing a space before the photographer arrives are among the most valuable of the entire project.
This checklist is written for the professionals who commission and manage these shoots: architects documenting a completed build, interior designers assembling a portfolio, builders showcasing craftsmanship, hoteliers refreshing their marketing, and realtors preparing a property for market. The principles are the same across all of them. What changes is only the emphasis.
Before Anyone Picks Up a Camera
The most consequential preparation happens well before the shoot day. Walk the space slowly, at the same time of day light will fall during the session, and look at it as a stranger would. Cameras are unforgiving in a way the human eye is not. We edit out clutter automatically as we move through a room; a lens records everything with equal attention.
Address the building-wide items first, because they cross every threshold:
- Clean all glass, mirrors, and glossy surfaces, which show streaks and dust under directional light
- Replace any burnt-out bulbs and, where possible, match colour temperatures throughout so lighting reads consistently
- Remove or conceal cords, chargers, remote controls, and visible technology
- Confirm HVAC vents, thermostats, and switch plates are clean and, ideally, unobtrusive
- Set every window covering to the same position so the space feels intentional rather than accidental
The camera records everything with equal attention, which means the room must be composed long before the shutter opens.
It helps to think in terms of styling passes rather than a single tidy. The first pass clears the obvious. The second refines. The third, done alongside the photographer, is where a good space becomes a photographed space.
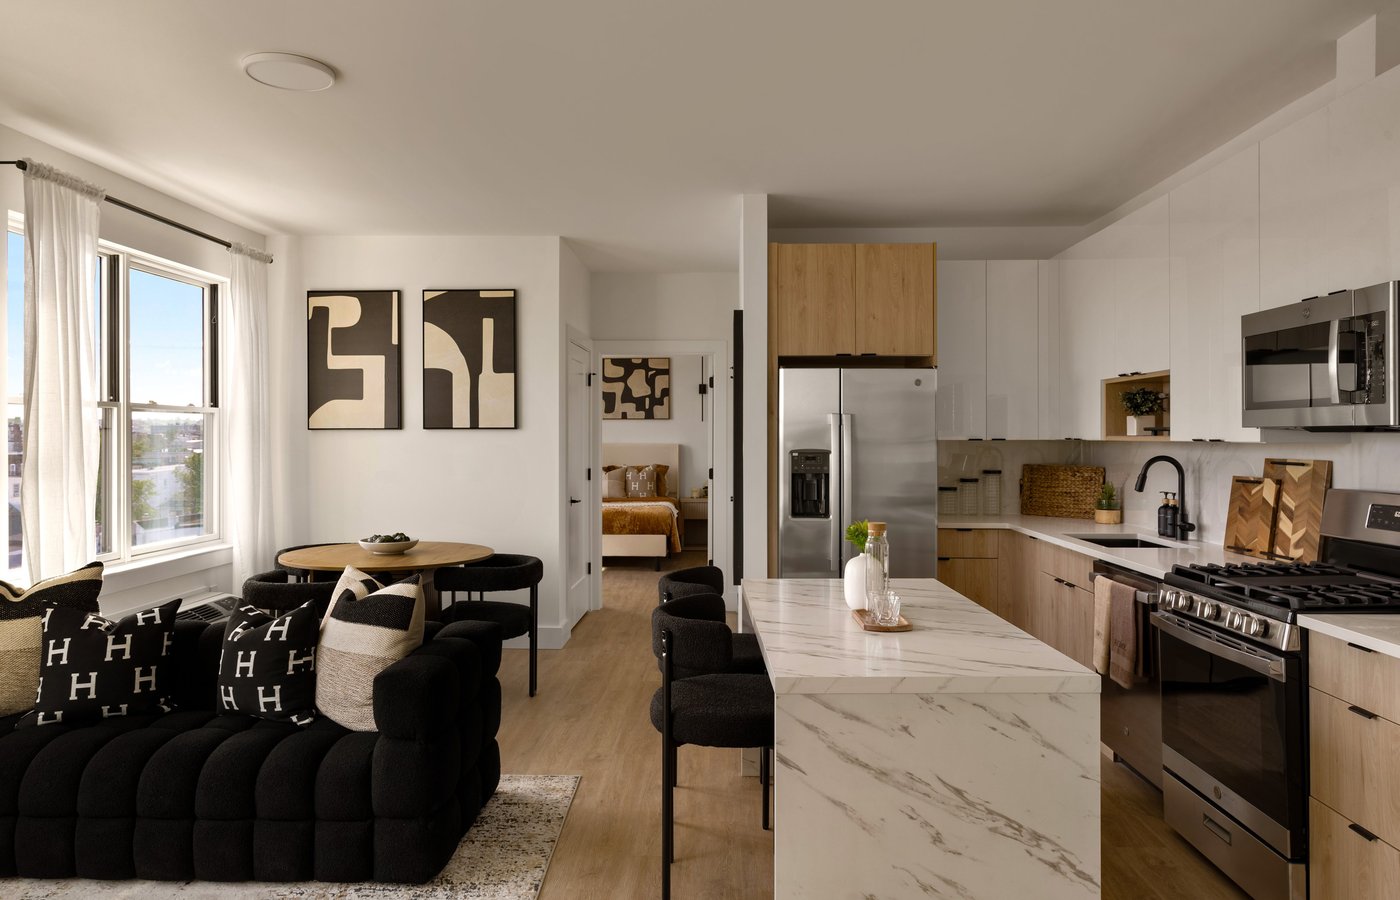
The Entry and Circulation Spaces
Thresholds set the tone for interior photography, yet they are often overlooked because no one lingers in them. An entry should feel welcoming and uncluttered. Remove shoes, coats, and the small debris of daily arrival. If there is a console or bench, style it lightly: a single considered object reads better than three competing ones.
In hallways and stairs, watch for scuff marks on walls and treads, and for the visual noise of smoke detectors, alarm panels, and light switches. These are the elements our eyes ignore and the lens will not.
Living Rooms and Lounges
Living spaces carry the most styling opportunity and the most risk of over-styling. The goal is a room that looks lived in without looking used. Plump and straighten cushions, but leave one with a gentle, intentional lean so the space feels human rather than staged.
What to remove
- Personal photographs, unless they are part of the design story
- Magazines, newspapers, and anything with dated or distracting text
- Excess throw pillows that crowd the seating
- Cables running to televisions and lamps
What to add
A restrained layer of styling gives the frame life: fresh flowers or foliage, a considered stack of books, a throw folded across an arm. For architects and builders, resist the urge to over-decorate. The architecture is the subject, and props should support the structure, never compete with it.
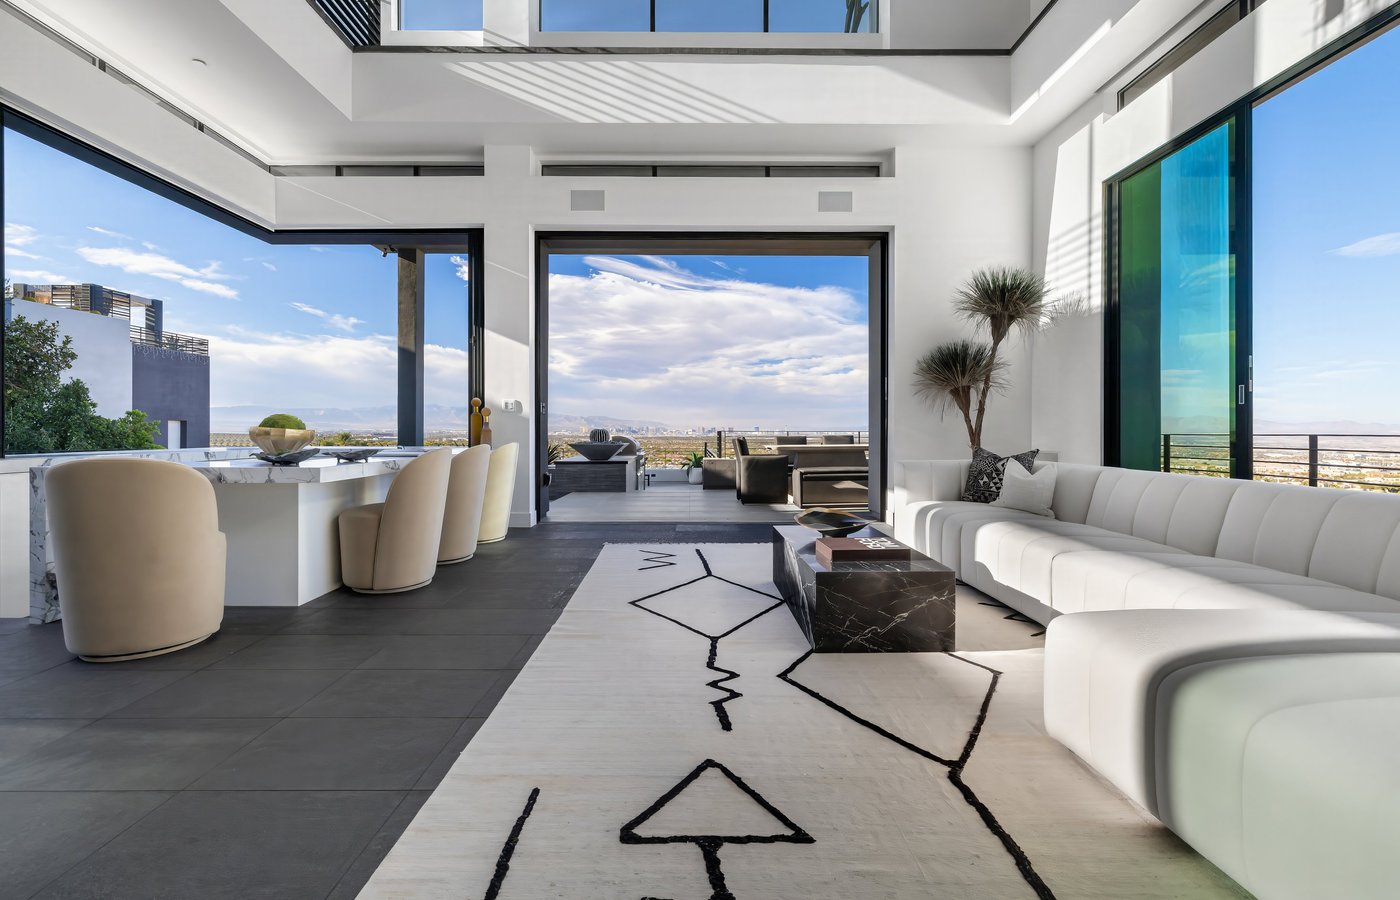
Kitchens
Kitchens photograph beautifully when they are nearly empty and immaculate. Countertops should be almost entirely clear. A single stone bowl of fruit or a cutting board with a piece of produce reads as intentional; a knife block, a dish rack, and a row of appliances read as clutter.
- Remove magnets, notes, and children’s artwork from the refrigerator
- Hide dish soap, sponges, and drying racks from the sink area
- Clean the range, hood, and any stainless steel, which shows fingerprints instantly
- Coordinate or conceal small appliances so surfaces breathe
Builders showcasing joinery and interior designers documenting a bespoke kitchen should pay particular attention to hardware and cabinet faces, which carry the craftsmanship of the room and deserve to be spotless.
Bedrooms
Bedrooms rely on the bed, and the bed rewards effort. Iron or steam the linens, layer them with care, and aim for the crisp fullness seen in editorial interior photography. Bedside tables should hold one or two quiet objects at most: a lamp, a book, a small vessel. Clear the floor entirely of shoes, bags, and laundry.
For hoteliers, consistency across rooms matters more than perfection in any single one. A guest suite that matches the promise of the website builds trust, and photography is where that promise is first made.
A space photographs best when it looks composed, cared for, and completely at rest.
Bathrooms
Bathrooms are small, reflective, and merciless in what they reveal. Clear every surface of toiletries, then clean the fixtures, glass, and mirrors thoroughly. Roll or fold fresh towels, and choose ones without visible wear. A single plant, a bar of unwrapped soap, or a folded hand towel provides warmth without clutter.
- Close the toilet lid
- Remove bath mats unless they are part of the styling intent
- Empty and hide the waste bin
- Check drains and grout, which the lens will magnify
Outdoor and Transitional Spaces
Exteriors, terraces, and courtyards are essential to architectural photography and are frequently forgotten in the preparation. Mow, sweep, and tidy plantings. Straighten outdoor furniture and remove hoses, tools, and bins. For realtors and hoteliers especially, the first exterior frame often determines whether anyone looks further.
Pay attention to the transitional moments where inside meets outside. A sliding door left half open, a threshold left cluttered, or a poorly aligned outdoor chair can undo the calm established elsewhere.
On the Day Itself
Even the most thorough preparation benefits from a final, unhurried walkthrough with your photographer. Bring a box or basket to hold the small items that inevitably surface, and keep it out of frame. Turn off ceiling fans, which blur in longer exposures. Silence phones and clear the space of people who are not needed, so the rooms can be worked methodically.
Trust the process of moving through the property one frame at a time. A considered shoot is not fast, and the finest results come from spaces given the room, and the quiet, to be seen clearly.
If you are preparing a project and would value a photographer who treats the process with this level of care, we would welcome the conversation at Matthew Lekker Photography.